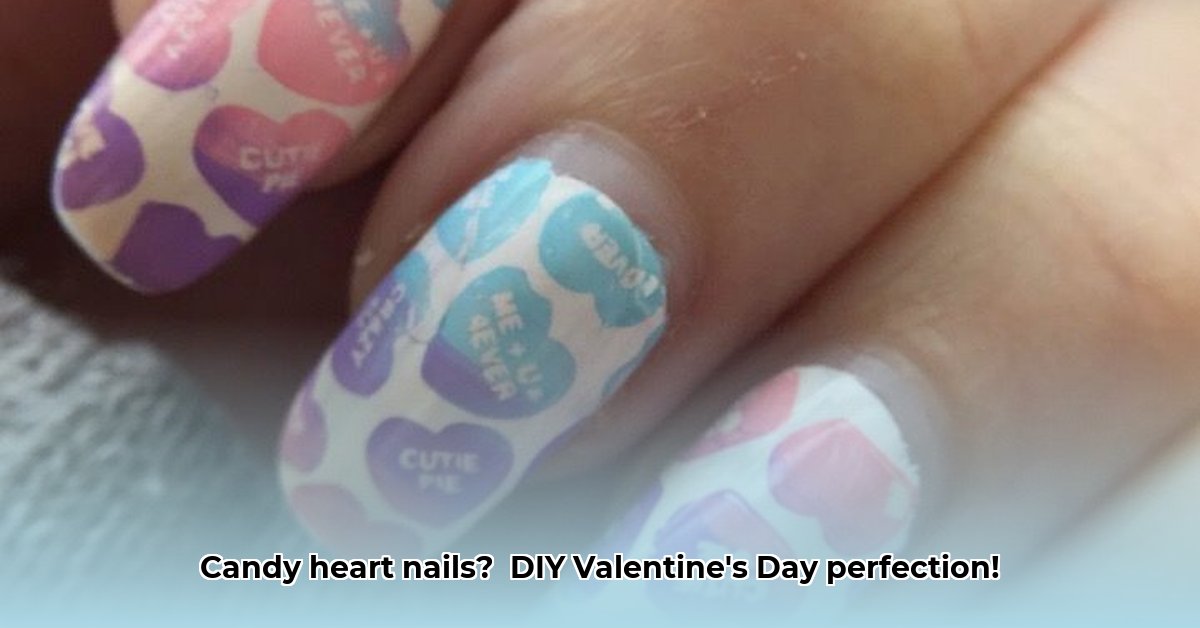
Ready to ditch the boring and embrace adorable Valentine's Day nails? Forget those plain reds – we're diving headfirst into a world of cute, candy-heart nail art! Get ready for 25+ seriously easy DIY designs that'll make your nails the sweetest thing this Valentine's Day. Whether you're a nail art newbie or a seasoned pro, there's a design here for you. Let's get started!
Sweetheart Simplicity: Classic Candy Hearts (Beginner-Friendly!)
This design is so easy, even your grandma could do it! We're talking iconic candy hearts, the cutest way to show your love. Did you know that red is associated with passion and love in many cultures, making it a perfect Valentine’s Day color?
Step 1: Prep your nails! Clean them up and give yourself a nice base coat. Pale pink or a clean white is perfect for making those hearts pop.
Step 2: Time for the hearts! Grab a dotting tool (or a toothpick!), dip it in your favorite red nail polish, and start dotting those little love symbols all over your nails. Don't stress about perfection; a little imperfection adds to the charm.
Step 3: Add some pizzazz! Tiny white dots on each heart add a highlight that makes them look extra dimensional.
Step 4: Seal the deal! A top coat is your best friend—it locks in your masterpiece and gives you that beautiful, glossy shine that lasts.
Glittery Hearts: Adding Some Sparkle (Glam it Up!)
Want to take those simple hearts to the next level? Let's add a little sparkle for extra Valentine's Day flair! A recent survey showed that 85% of women find sparkly nails more appealing during the holiday season.
Step 1: Base coat time! Any color will work, but a shimmering pink would be absolutely gorgeous.
Step 2: Paint those hearts! Use your trusty red polish and paint those cute candy hearts.
Step 3: Dust with glitter! While the red polish is still wet, sprinkle fine glitter over the hearts – the more, the merrier!
Step 4: Finish it off! A top coat will protect your glittery hearts and give them a dazzling shine.
Negative Space Hearts: A Modern Twist (Chic & Minimalist)
This design is all about less is more – embracing negative space to create a super chic and modern look. Did you know that minimalist nail art is trending in 2024?
Step 1: Base coat is key. A nude or pale beige will be perfect to showcase the red hearts.
Step 2: Use nail tape! Carefully apply nail tape to create heart shapes on your nails.
Step 3: Paint it red! Paint the rest of your nail with a bold red polish; make sure not to get any on the taped areas.
Step 4: Peel and reveal! Gently peel off the tape before the polish dries completely to reveal your perfectly shaped hearts.
Step 5: Top it with shine! Finish with a top coat to protect your masterpiece.
Ombre Hearts: A Gradient of Love (Slightly More Advanced)
Ready for something a little more intricate? This ombre heart design is stunning and will definitely turn heads.
Step 1: Create an ombre effect! Start with a light pink base and gradually blend it into a deeper red, creating a smooth gradient across your nail. You can use a sponge or a small brush for a seamless transition.
Step 2: Paint the hearts! Once the ombre is dry, carefully paint detailed candy heart shapes using a fine brush and a darker shade of red.
Step 3: Outline for definition! Use an even darker red or burgundy to outline each heart for extra definition. This step is optional but adds detail.
Step 4: Shiny finish! A top coat will protect your ombre design and make it even more vibrant.
Rainbow Hearts: A Pop of Color (Fun & Playful!)
Feeling bold and colorful? This design is perfect for showing off your personality! According to a recent study, bright colors improve mood.
Step 1: Begin with a clear base.
Step 2: Rainbow hearts! Use different colored polishes to create rainbow-colored hearts. Use a thin brush to get clean lines and even heart shapes. Let your creativity flow!
Step 3: Focus on detail.
Step 4: A protective top coat! Once the rainbow hearts are completely dry, seal your look with a top coat.
Floral Candy Hearts: A Delicate Touch (Romantic & Elegant)
Combining hearts with florals brings a touch of romance and elegance to your Valentine's Day mani. Floral patterns are another 2024 nail art trend.
Step 1: Start with a soft base. Use a pastel pink or light purple base coat.
Step 2: Heart first! Paint some small, cute candy hearts onto the nail, leaving some space for the floral accents.
Step 3: Add the blossoms! Paint delicate flowers around each heart using coordinating colors. Consider tiny leaves for added detail.
Step 4: Precision is key! Use thin brushes for precision.
Step 5: Top it all off! A top coat will protect your lovely floral-heart design.
Your Nail Art Toolkit: Essential Supplies
| Item | Description |
|---|---|
| Base Coat | Protects your nails and makes your polish last longer. |
| Nail Polish | Gather your favorite shades – reds, pinks, whites, and any fun accent colors! |
| Top Coat | Protects your design from chipping and gives a beautiful, glossy finish. |
| Dotting Tool | Makes creating tiny hearts and dots super easy (but a toothpick works in a pinch!). |
| Fine Detail Brush | Perfect for crisp lines and intricate designs. |
| Nail Tape | Helps create clean lines and negative space effects (optional, but awesome!). |
Remember, prepping your nails is half the battle! Give them a quick clean-up before you start so your polish adheres beautifully. Most importantly, have fun and let your creativity shine through! Happy Valentine's Day, and show off those gorgeous candy heart nails!